Installing laminate flooring is a straightforward process, requiring minimal tools and no messy adhesives or fasteners. Here's a step-by-step guide:
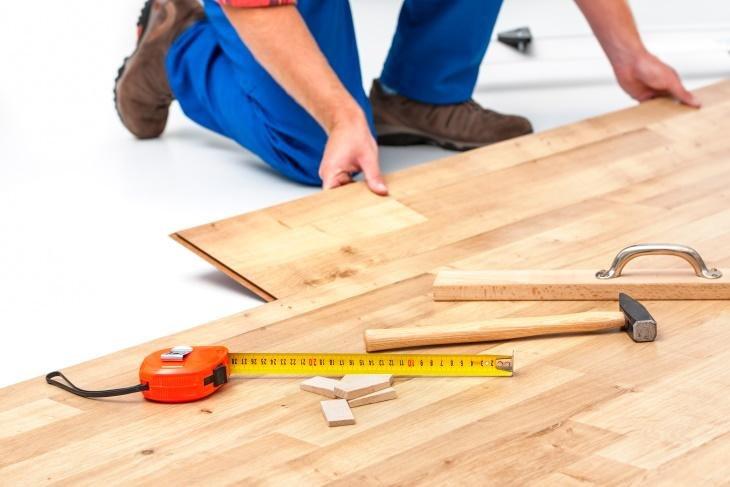
Materials Needed:
Utility knife
Hammer
Tapping block or pull bar
Rubber mallet (optional)
Tape measure
Straightedge
Speed square
Pencil
Circular saw, jigsaw, or handsaw
Table saw (optional)
Chalk box
Laminate flooring
Underlayment and tape
Scrap wood spacers
Step 1: Prepare the Surface Ensure the surface is clean, flat, and dry. Laminate can be installed over most existing floors, excluding soft or cushioned materials. Repair any damage to the subfloor and lay down thin plywood if needed.
Step 2: Test Layout Lay out the laminate planks without securing them to get a sense of the layout and determine how many planks you'll need. Be careful not to step on the planks since they're not yet attached.
Step 3: Install Underlayment Install underlayment or a vapor barrier to absorb sound and moisture, and provide thermal insulation. This also helps smooth out any imperfections in the subfloor. Secure the underlayment with adhesive if necessary.
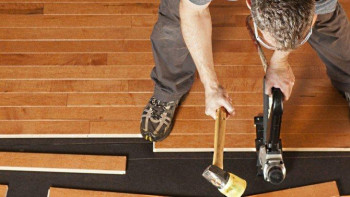
Step 4: Start Installation Begin by placing the first row of planks against the wall with a 1/4 inch gap for expansion. Trim the tongue off the side facing the wall to allow for a flush fit with the spacers. Lock each plank together using a hammer until snug.
Step 5: Cut and Stagger Planks As you reach the end of each row, cut the last plank to fit, ensuring to account for the tongue and gap against the wall. Use the offcut from the previous row to start the next row, staggering the joints for stability.
Step 6: Install Remaining Planks Continue adding planks, locking them at a 45-degree angle and inserting tongues into grooves. For the final row, measure and cut planks to fit snugly against the wall. Installation here may require precision due to limited space.
Step 7: Remove Spacers and Finish Once all planks are in place, remove spacers and install baseboard moldings to cover expansion gaps. This completes the installation process, leaving you with a professionally installed laminate floor.
Following these steps will guide you through the straightforward process of installing laminate flooring with ease.


Related Posts
-

HOW HOUSE PAINTING AFFECTS YOUR MOODS
23 Mar 2022 -

WHAT MAKE HAERDWOOD PLANK CRACK?
23 Mar 2022 -

REPAIRING NOISY HARDWOOD FLOOBOARDS
23 Mar 2022 -

CHOOSING A CONTRACTOR
23 Mar 2022 -

HOW TO CHOOSE THE RIGHT KITCHEN SINK
23 Mar 2022